
This is a followup to January’s DIT video and article on How to Make a Storyboard.
This time I’ll give deeper instructions by going into the details of a storyboard assignment that I used in my class. The information is provided in the short video below, as well as in a narrative form, which continues right under the video.
The assignment has three parts:
- Goals and Assumptions
- Storyboard
- Prototype
GOALS AND ASSUMPTIONS
You can write out your goals and assumptions in a page or less. To do this, you will answer three basic questions:
- Rationale: What is the purpose, or rationale, for your project?
- Learning outcomes: What do you expect people to learn? What are the “takeaways?” The learning outcomes?
- Pre-Knowledge: Does your audience need any pre-knowledge — things they already need to know — in order to benefit from your product?
Rationale
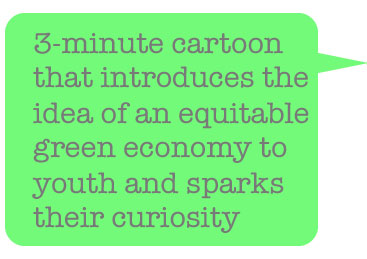
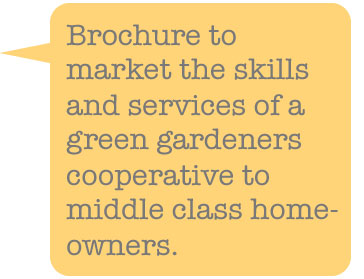
Here are examples of what a rationale might look like from three projects from the class:

Learning Outcomes
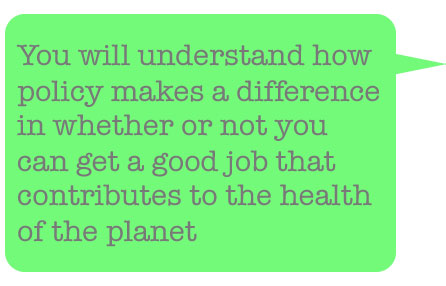
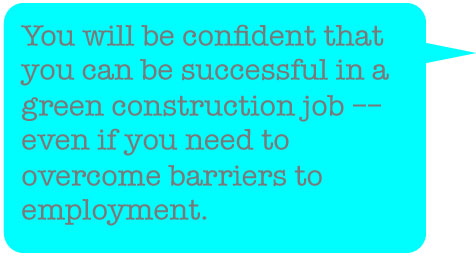
Now let’s look at a few of the intended learning outcomes from the same projects — these are just excerpts, the project may have had more. Notice that each project presents its outcome from the perspective of what you — the intended audience — will learn:

Pre-Knowledge
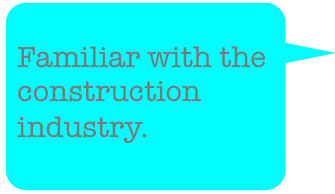
What is the pre-knowledge required for each of these projects?

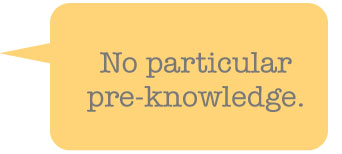
There’s no particular pre-knowledge for the green gardeners brochure. The fact that the audience consists of middle class homeowners is enough.
What is useful about writing down our goals and assumptions? The rationale, learning outcomes, and pre-knowledge?
Well, now we have some criteria for evaluating the success of our project. We can share these with others when we ask for feedback or when we work together as a team.
STORYBOARD
Now let’s move on to the storyboard. I’m going to talk about two kinds:
- a storyboard for a linear project
- a storyboard for a non-linear project
Linear Storyboard
Let’s start with a linear project. Examples of these are a video, a cartoon, and a workshop. We’re basically talking about anything that has a script and shows a sequence.
Step one of a linear storyboard is to write the script. When you set out to do that, consider the sequence of events, if there are characters in your story, what actions they are taking, and if you are going to use any props, as for example, in a workshop.
Here’s what the script looks like for the Just Economics MELTDOWN workshop.
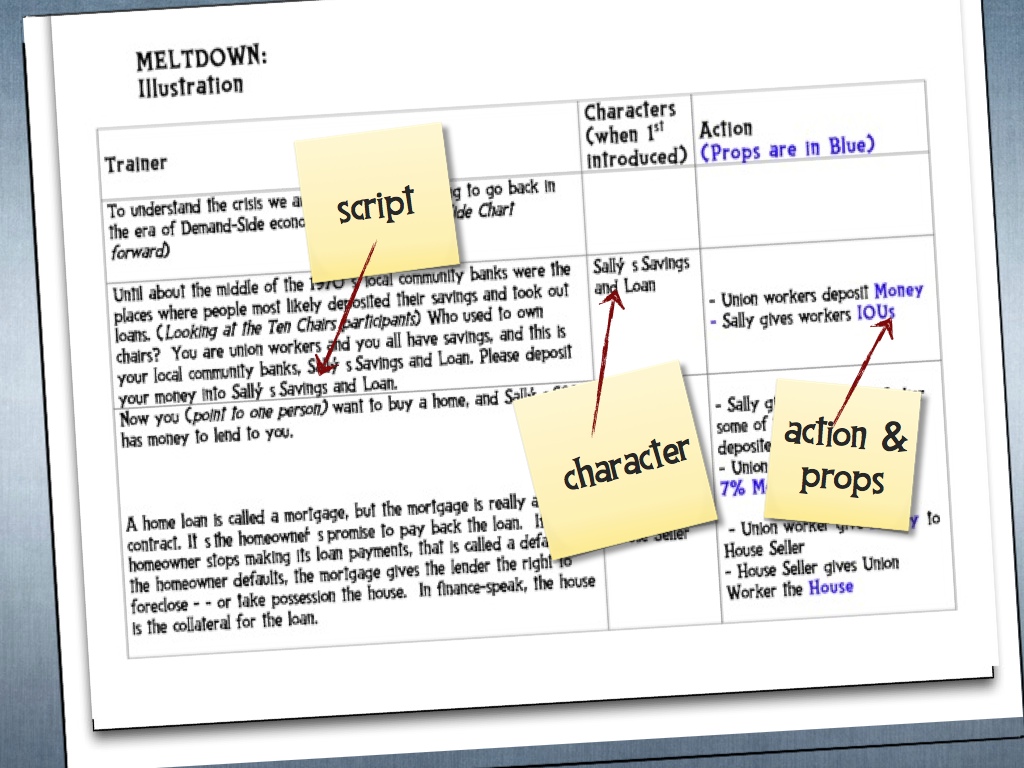
The left column contains the facilitator’s script. The middle column creates a list of characters i nthe order that they are introduced in the script. The third column consists of the action that the facilitator is guiding and specifies any props that will be used in that action.
Step two is to illustrate the sequence. You can use clip art, stick figures, sketches, photos, or all of the above. Use whatever works for you.
Here are the slides that the green gardeners team (Brenda Aguilera, Sara Marin, and Alex Stevens) created for their storyboard. This team used photos and superimposed the main points of their script right on top of the photos.
The team working on the young construction workers project used clip art and placed their script on the bottom of each slide.

For her cartoon storyboard, Simone used clipart and set up each of her slides with four captioned panels.

One more note about the order of things: Depending on whether you do your best thinking and storytelling in pictures or words, you might flip this order. Visual people might start out with images. Verbal people might start out with scripts. In either case, at the end of the day, your linear storyboard will include both.
Non-Linear Storyboard
Now let’s talk about making a storyboard for a non-linear project. What I mean by that is a project where information can be accessed in no particular sequence. Examples of non-linear projects are a website, a cookbook (or any book that you can read starting anywhere), and a poster that has discrete panels, each with a different purpose.
Step one in making a non-linear storyboard is to divide your content into its logical non-linear parts.
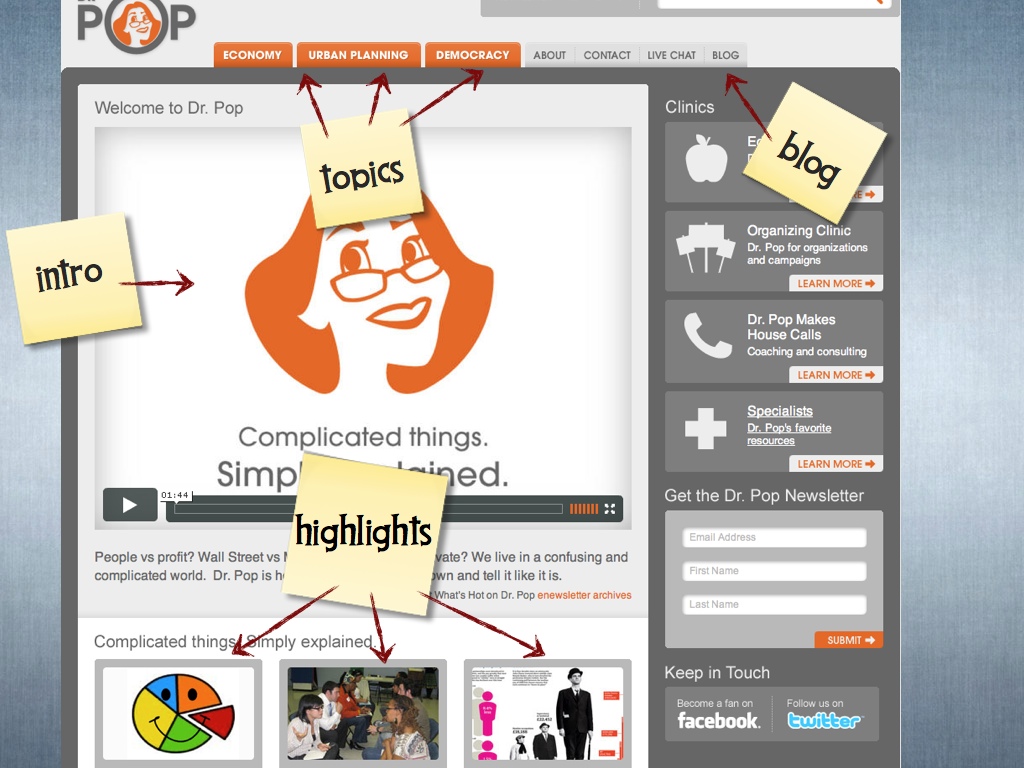
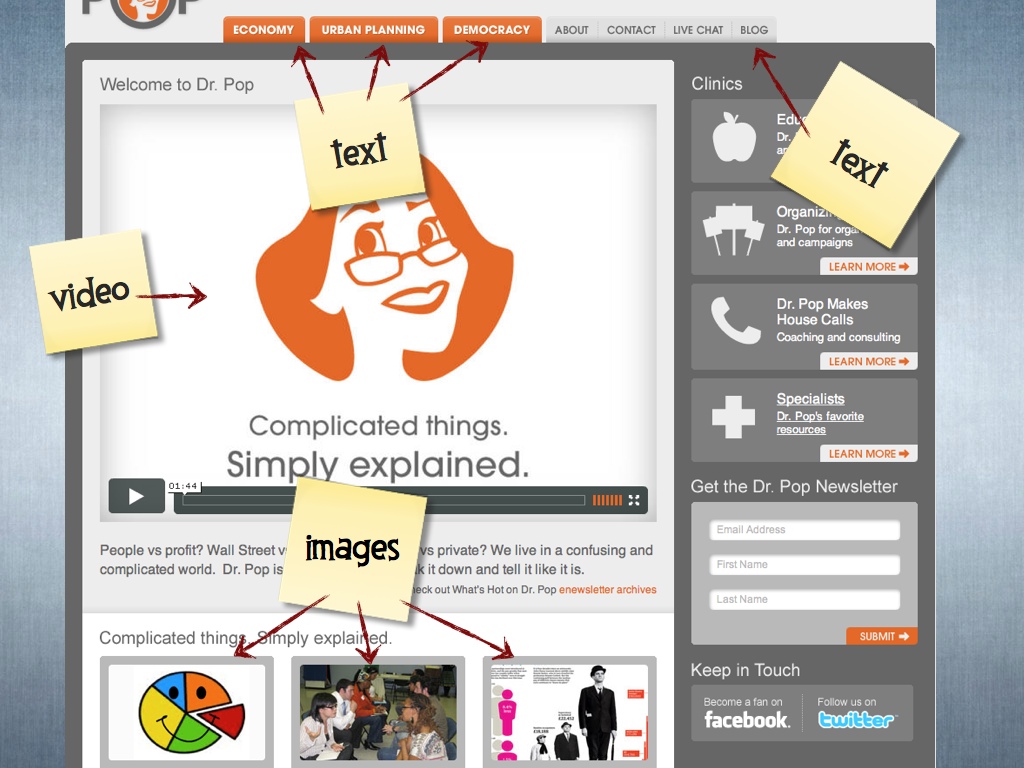
To see what I mean by that, let’s deconstruct the Dr. Pop Homepage for some of its key content. As you can see in the illustration below, there is an introduction that tells you about the purpose of the site. There are topics, like economy, urban planning, and democracy. There is a blog. Every month there are three new highlighted stories. You can start investigating the site by clickin on any of these. It is not a linear form. That’s what’s great about websites.
So if we were just starting to plan this homepage, we could list out the logical parts of our content in an outline like this:
Introduction
Topics
– economy
– urban planning
– democracy
Blog
Highlights
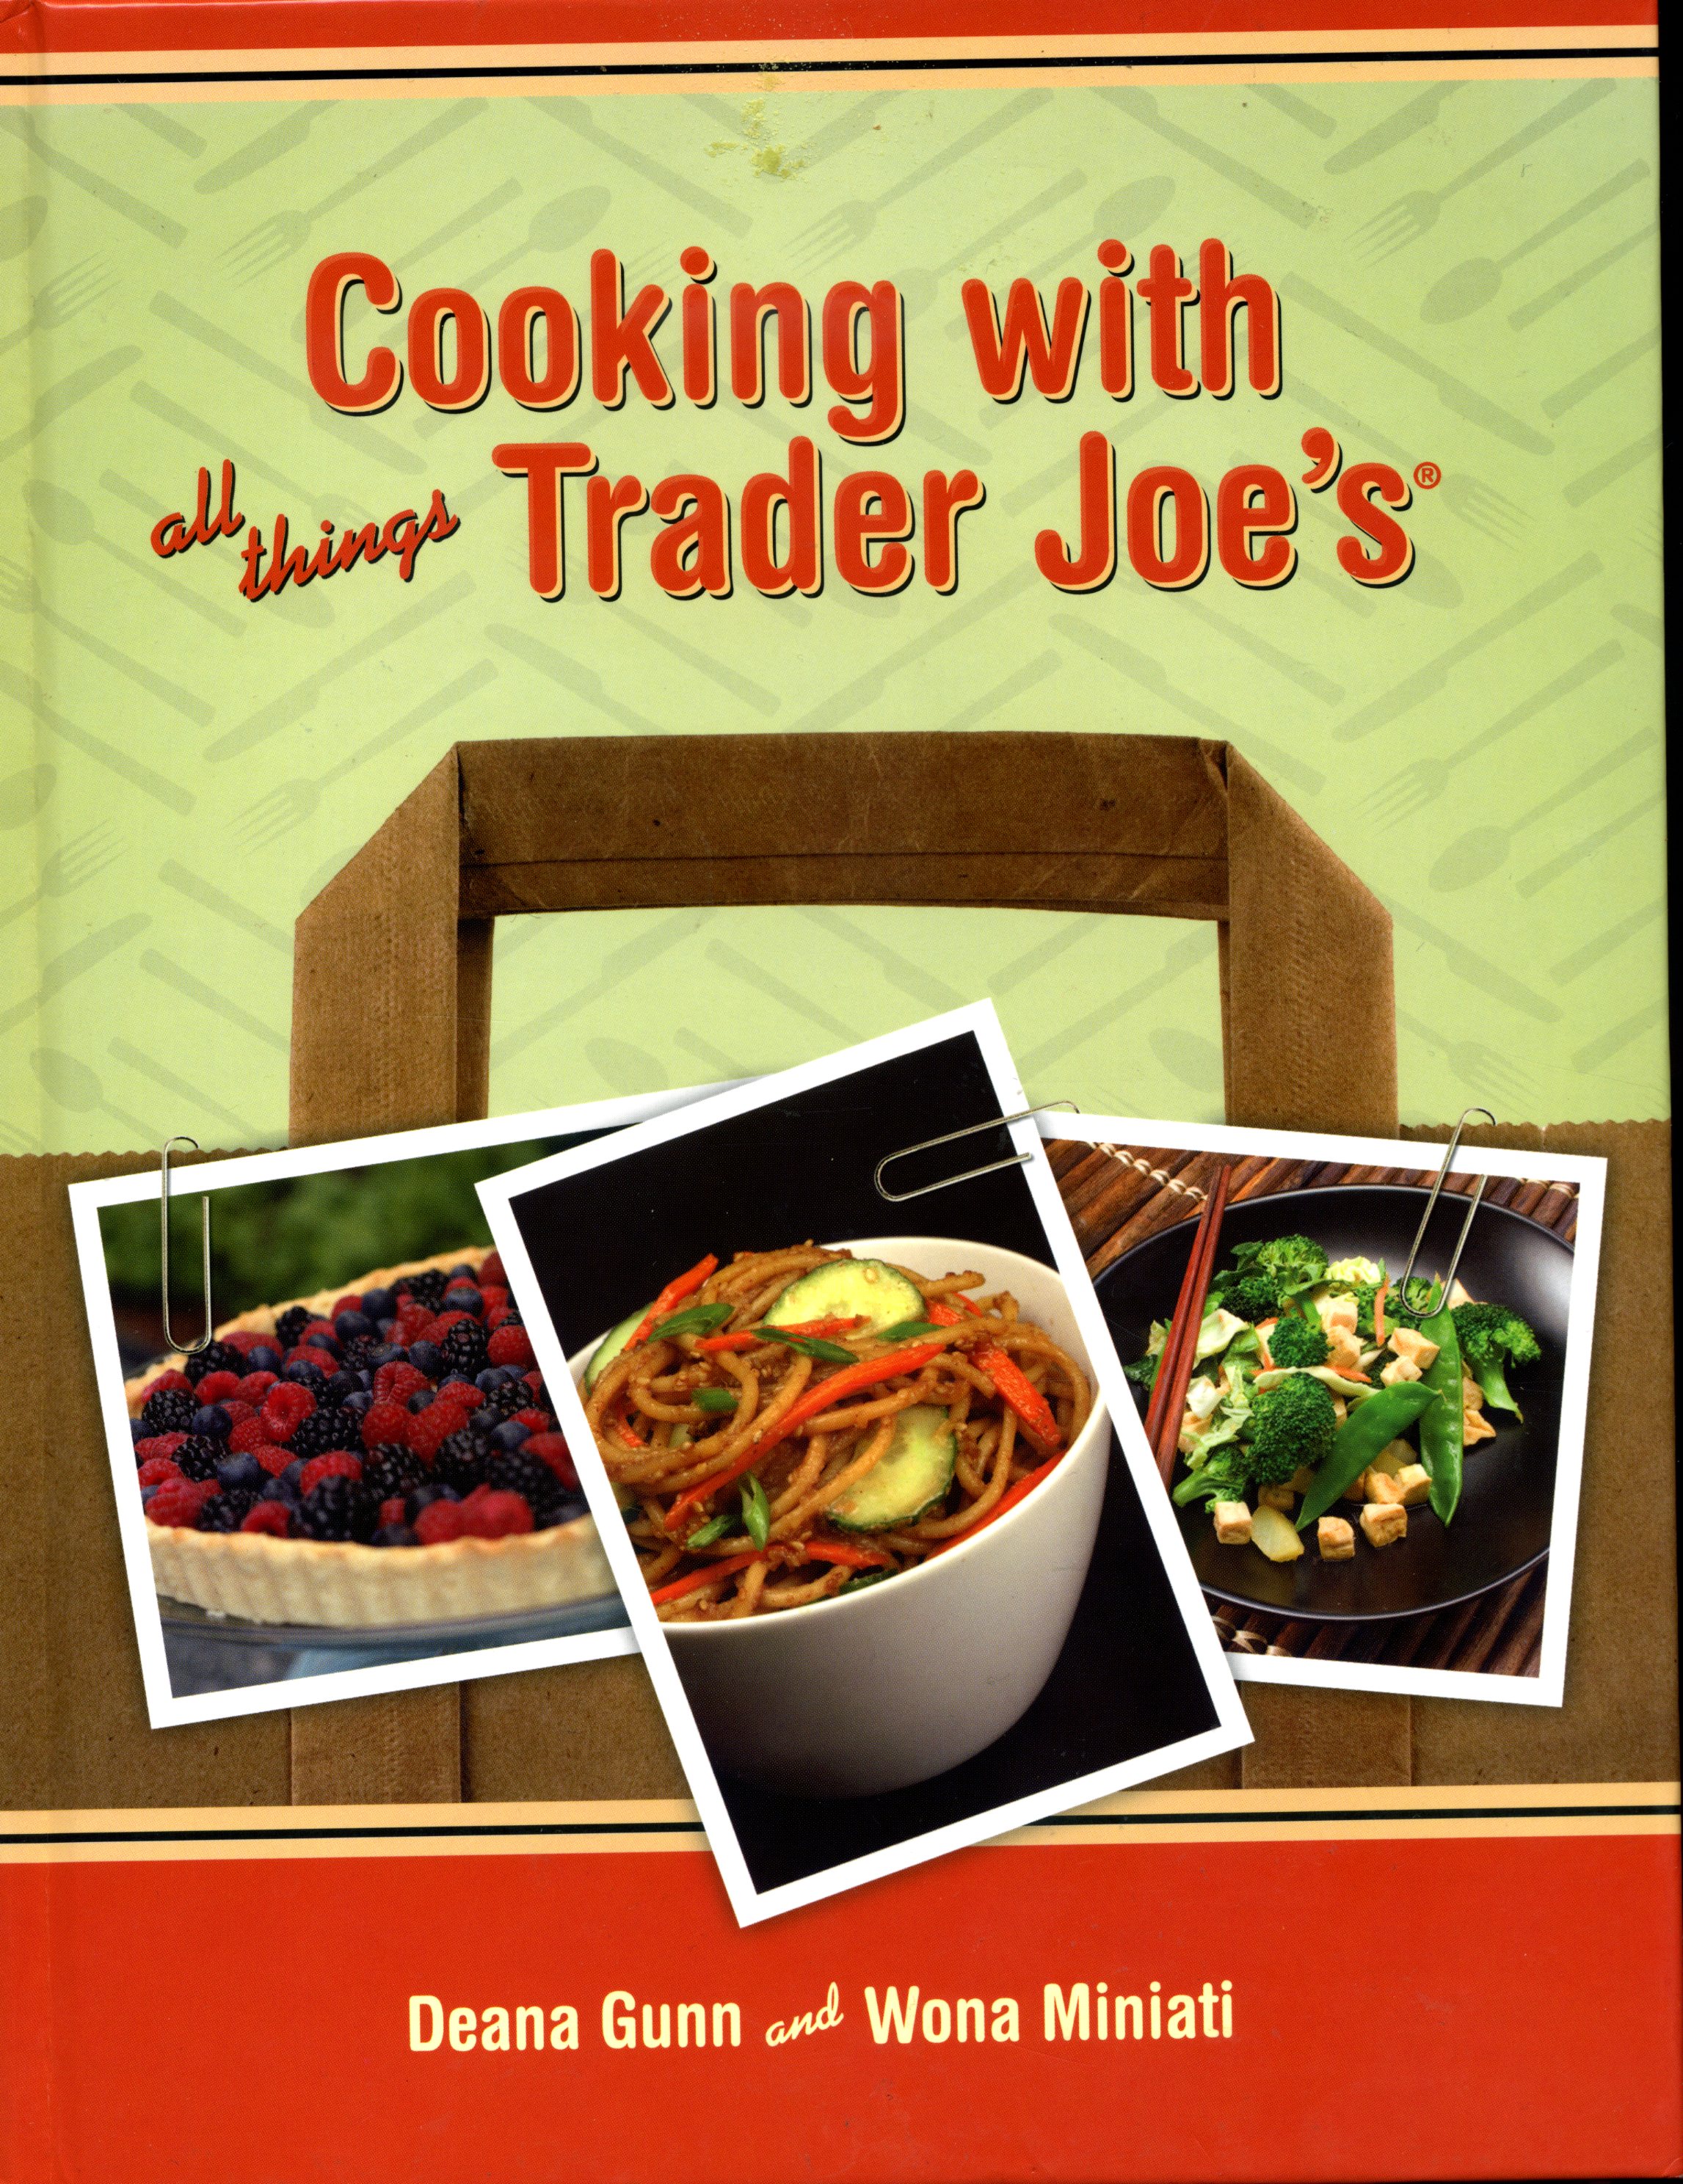
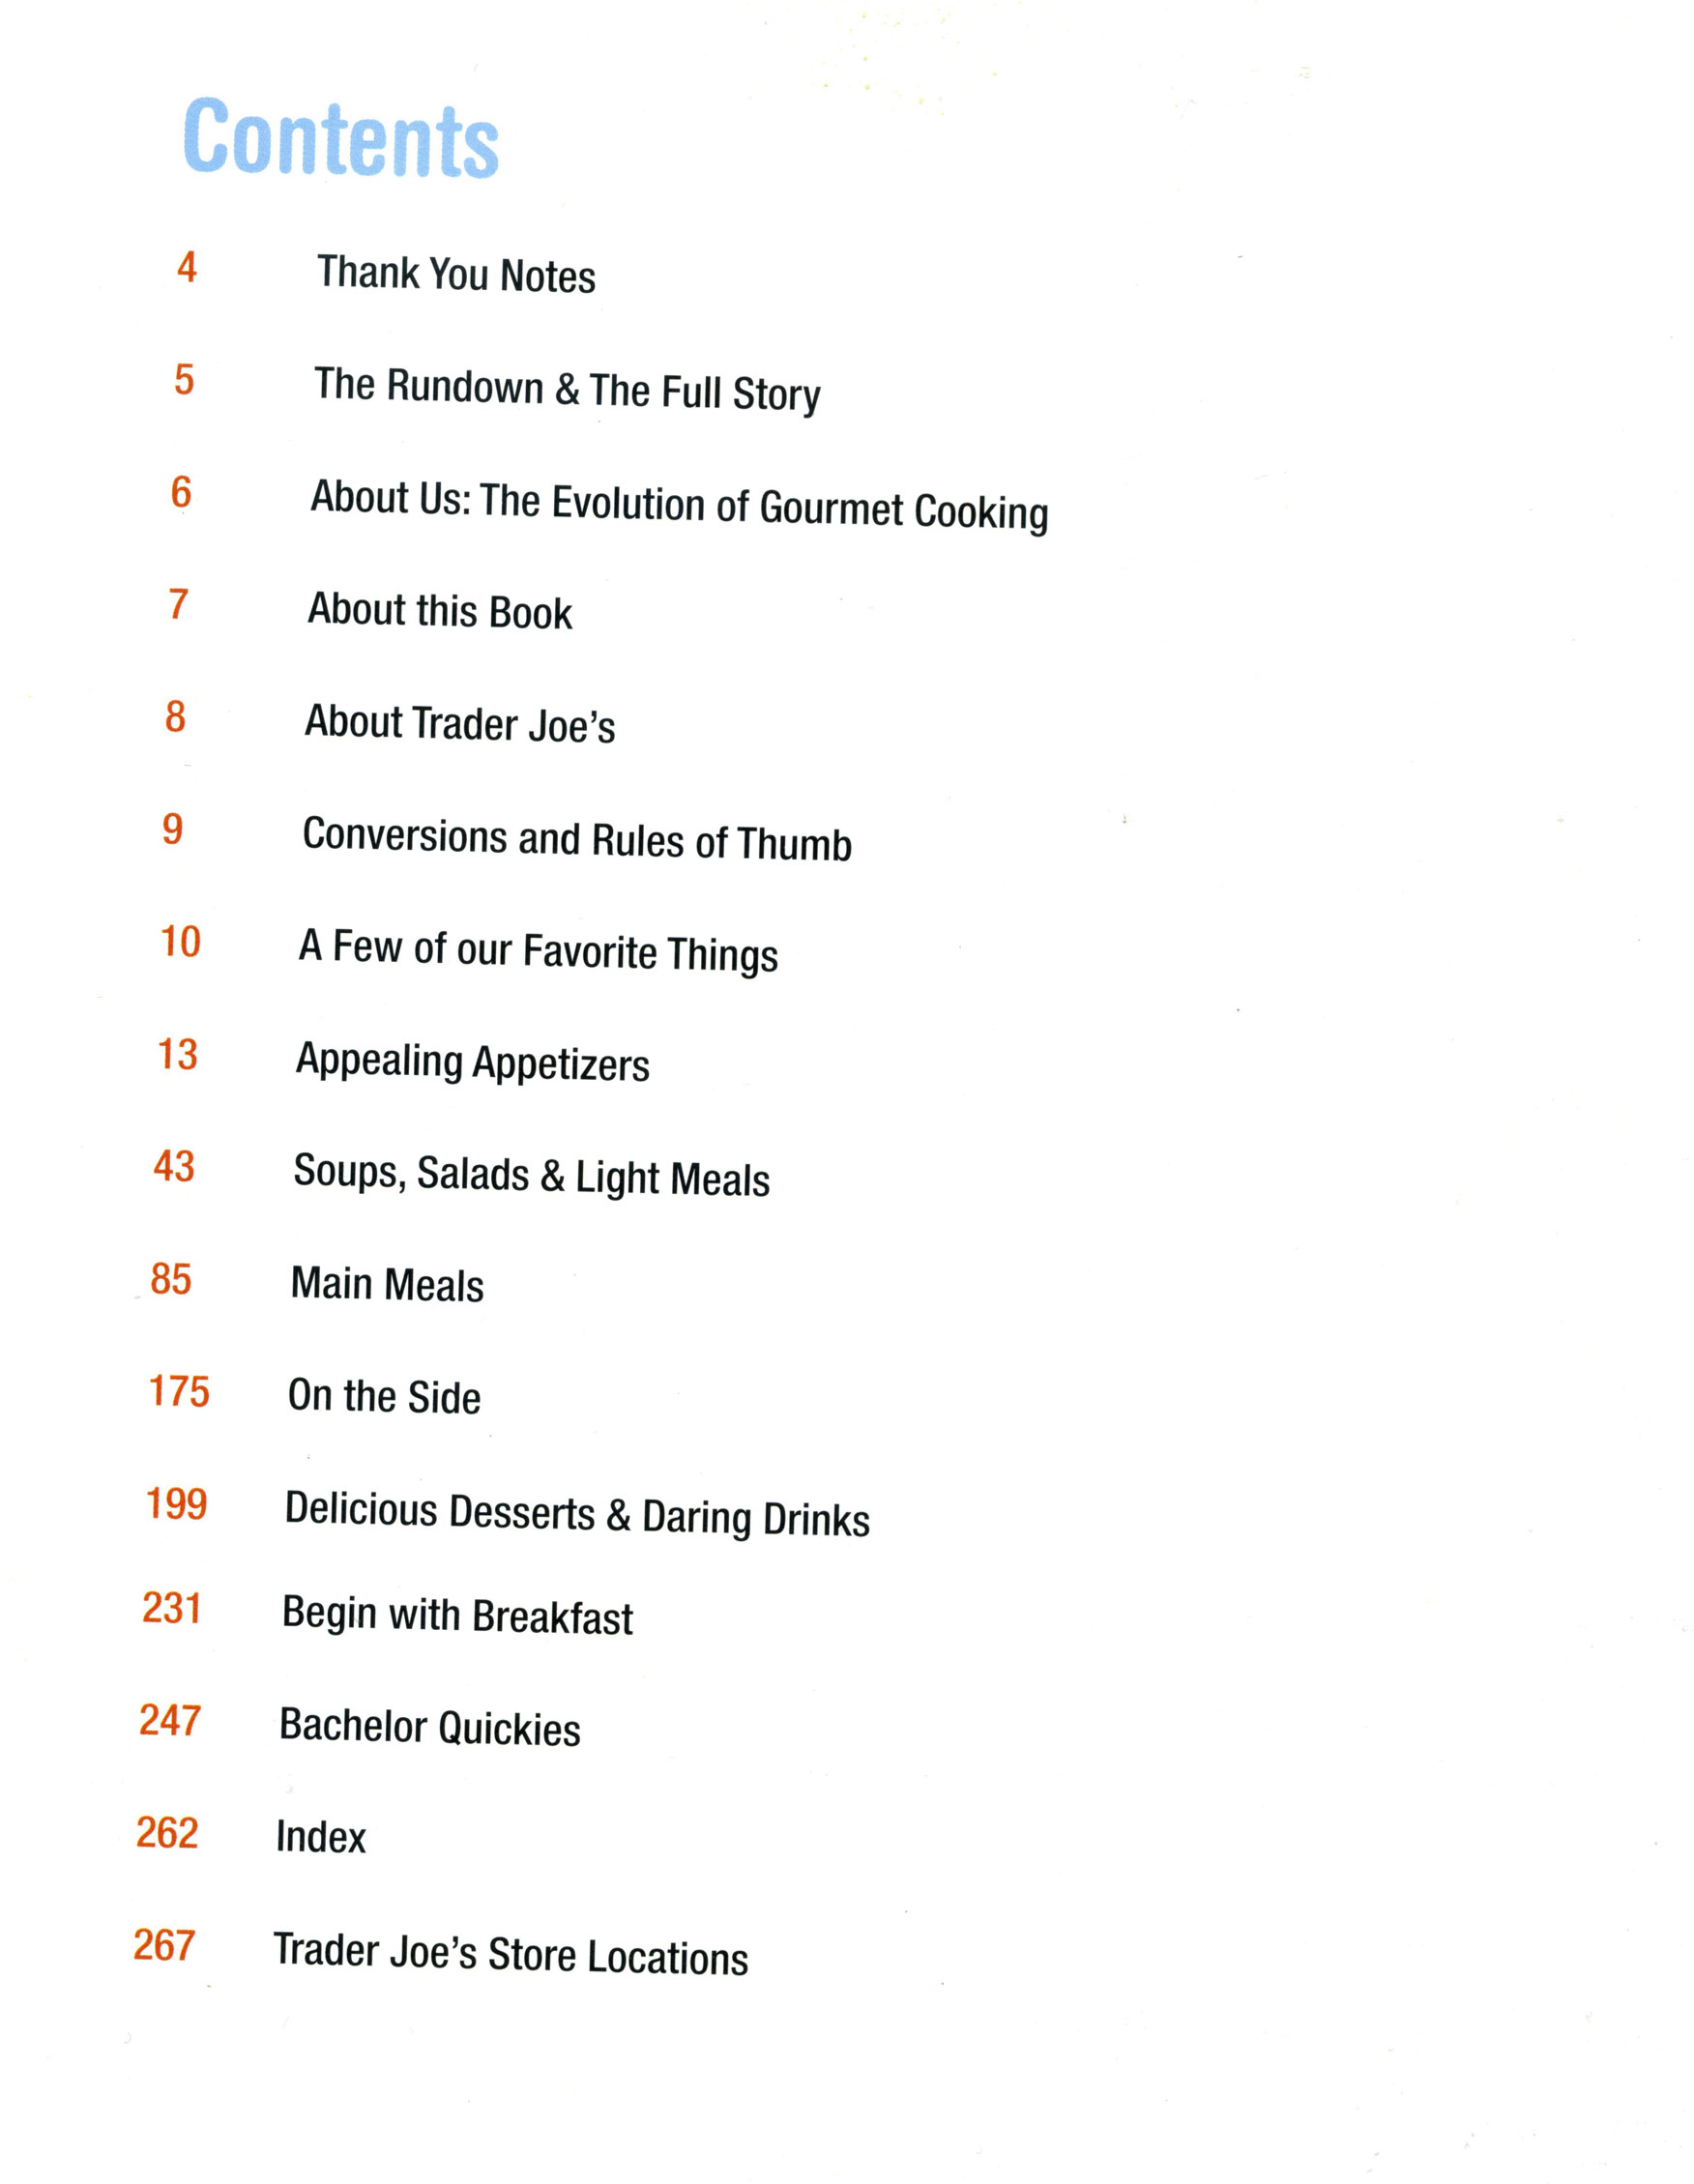
Let’s take another example. Here’s my favorite cookbook: Cooking with Trader Joe’s. In a cookbook, the table of contents shows us how the authors divided up their content — the recipes — into its logical non-linear parts.
Another example is this great poster from the Center for Urban Pedagogy about Predatory Equity. Each of the poster panels has a different purpose, which you can see as you open it up until it unfolds into a full-scale poster.

If we were just starting to plan the poster, the logical non-linear content might look something like this:
Introductory Title Panel
What is Predatory Equity?
What You Can Do About It
Riverton Apartments Example
Step two for making a non-linear storyboard is to now divide your content by media.
Looking back at the Dr. Pop homepage through that lens, we can see that there is a video, some text at the top, and some images on the bottom of the page.
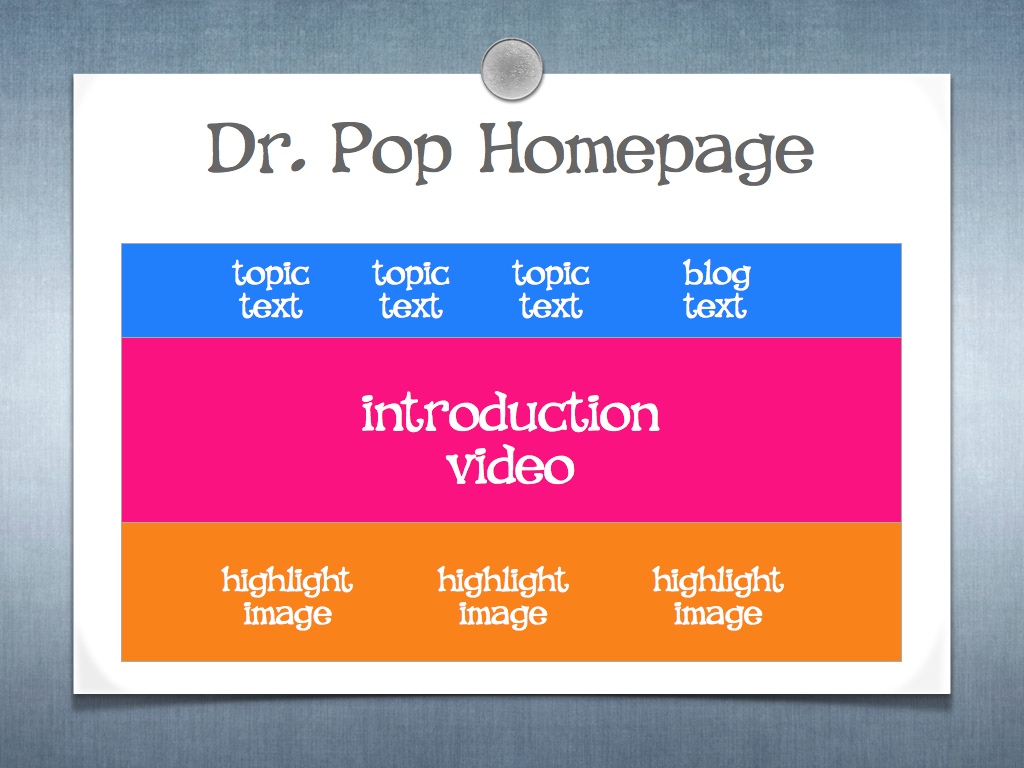
Step three, the final step in making a non-linear storyboard is to now reassemble your content and media into a storyboard. By example, here’s a simple frame for the Dr. Pop storyboard:
PROTOTYPE
The final part of the class assignment was to create a small prototype of what the final product could look like. This is important because people are bombarded daily with massive amounts of media that may have very low content value, yet extremely high production values.
An amazing cartoon that has only one message: “Buy a Coke,” is a typical example.
My point is that people are used to receiving visual information at that high level of quality. So while the purpose of your storyboard is to basically tell a story, the purpose of your prototype is to inspire imagination and confidence.
That’s why if you want good feedback, it helps to provide people with some experience of the real thing.
In our class, the two prototypes that were prepared were interactive pieces of two workshops: one was for the young construction workers, the other was for East L.A. food-buyers. They really engaged the audience, and gave us a sense of what the final product would be like.
More about these in future posts.
Other Resources
There are two sites that I find very useful for thinking about building stories and storyboards.
One is the Knight Digital Media Center which has a nice model for building a multi-media project storyboard. It is oriented toward journalists, but since everything is really about the story and the audience — it should work for you.
The other is the Rapid E-Learning Blog by Tom Kuhlman, which is oriented towards trainers and teachers who are producing online education products. It is actually a software product blog (for Articulate), but it is of consistently high quality with an eye towards building effective stories that are interactive and educative.
One Comment